Creating Your Lite Raise Account
Step-by-step walkthrough of creating an account, choosing a subdomain, and starting your 14-day free trial.
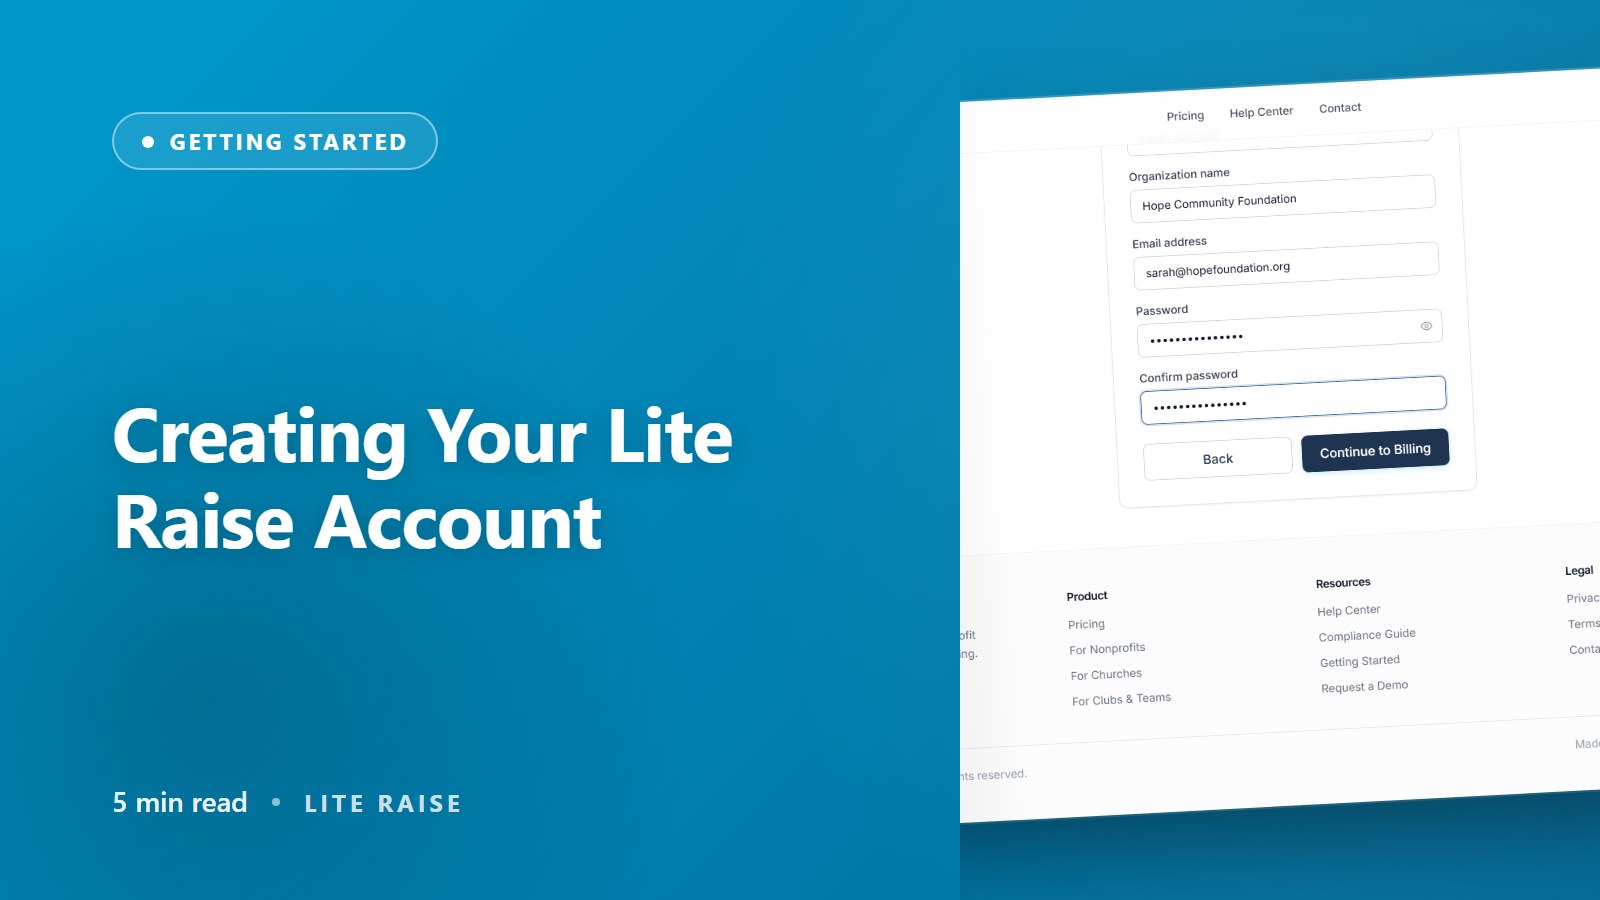
This guide walks you through creating your Lite Raise account from the sign-up page through the first time you land in your dashboard. The whole process takes about 5 minutes.
Before you start
Have these handy:
- Your nonprofit's legal name as it appears on your IRS determination letter
- Your EIN (Employer Identification Number, format XX-XXXXXXX)
- An email address you check daily — this becomes your owner login
Step-by-step
- 1Choose a plan
From the homepage click Get Started or Pricing. You'll see four plans: Launch (free), Grow, Scale, and Pro. Every plan starts with a 14-day free trial — no card charged until day 15. You can change plans anytime.
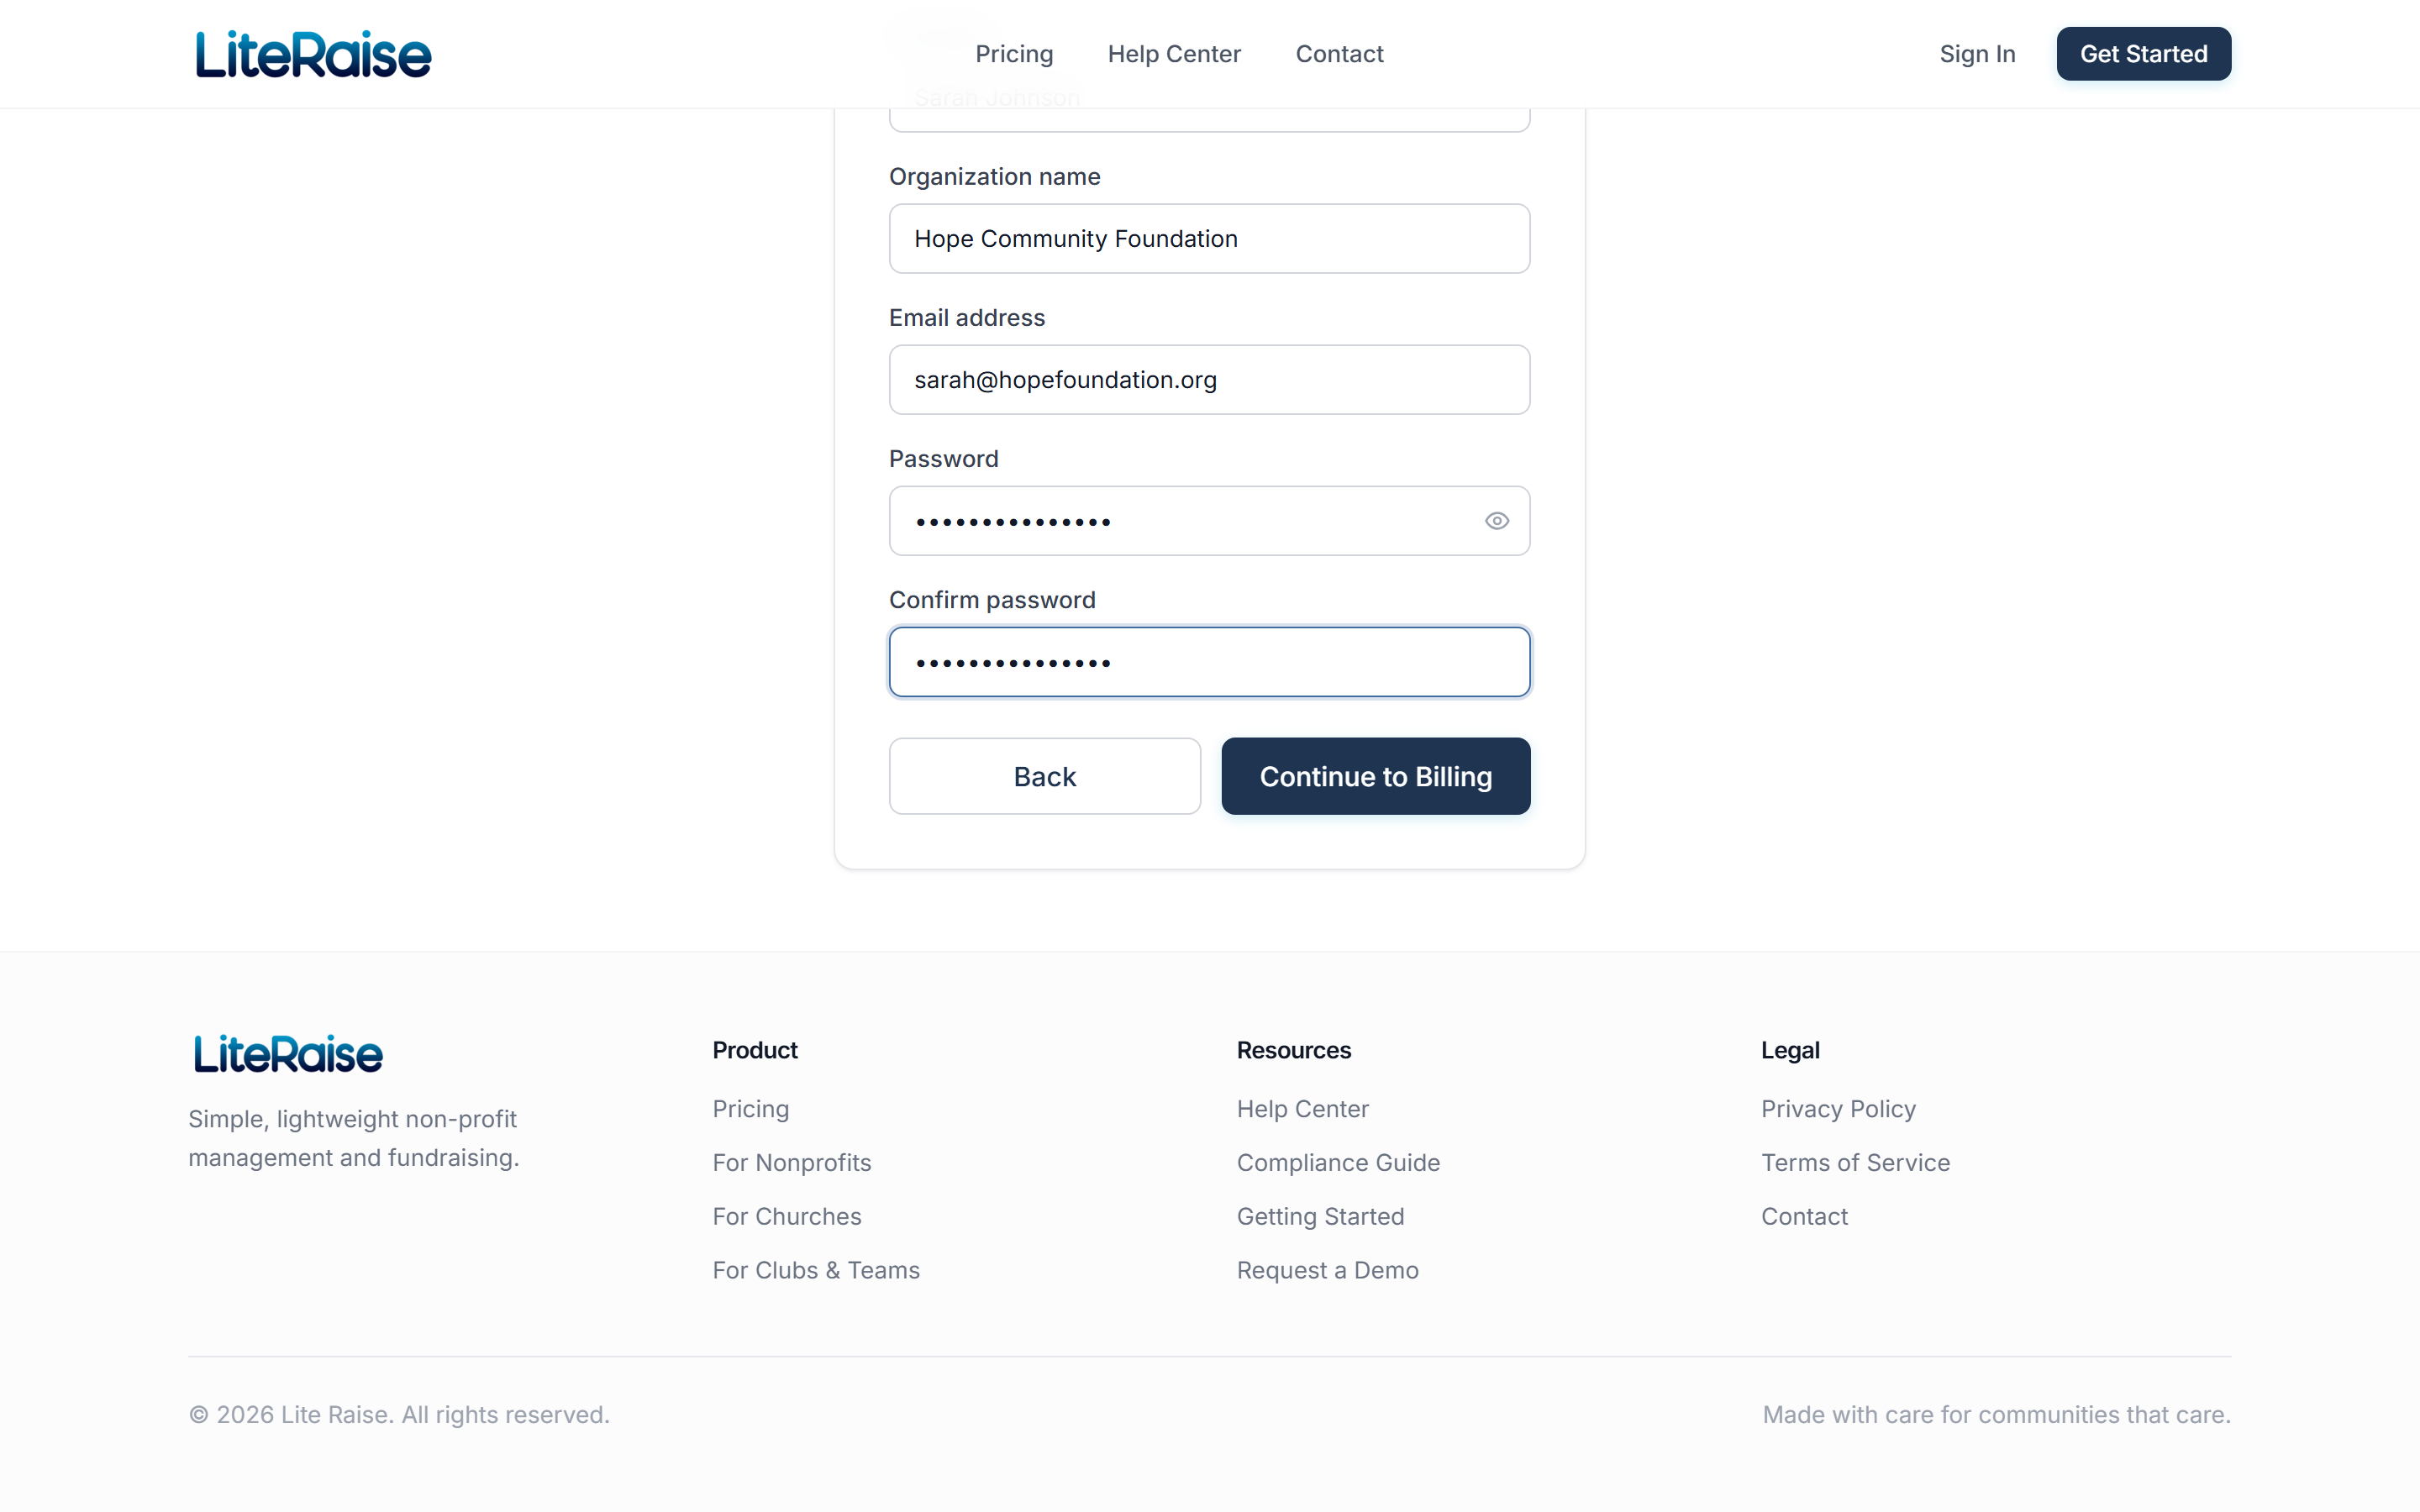
- 2Enter your account details
On the second step, fill in your full name, organization name, email, and a password of at least 10 characters. The organization name should match your IRS records — it appears on every donation receipt.
- 3Add a card for the trial
On the third step we collect a card on file. You're not charged today — the card is reserved for after the trial ends. Cancel anytime in the first 14 days and you'll never see a charge.
- 4Verify your email
We send a confirmation link to the email you entered. Click it within 24 hours so you can recover your account if you ever need to reset your password.
- 5Start onboarding
Once verified, you're sent to a 5-minute onboarding wizard where you'll set your subdomain, verify your EIN, and pick which features to enable. Don't worry — every choice is reversible.
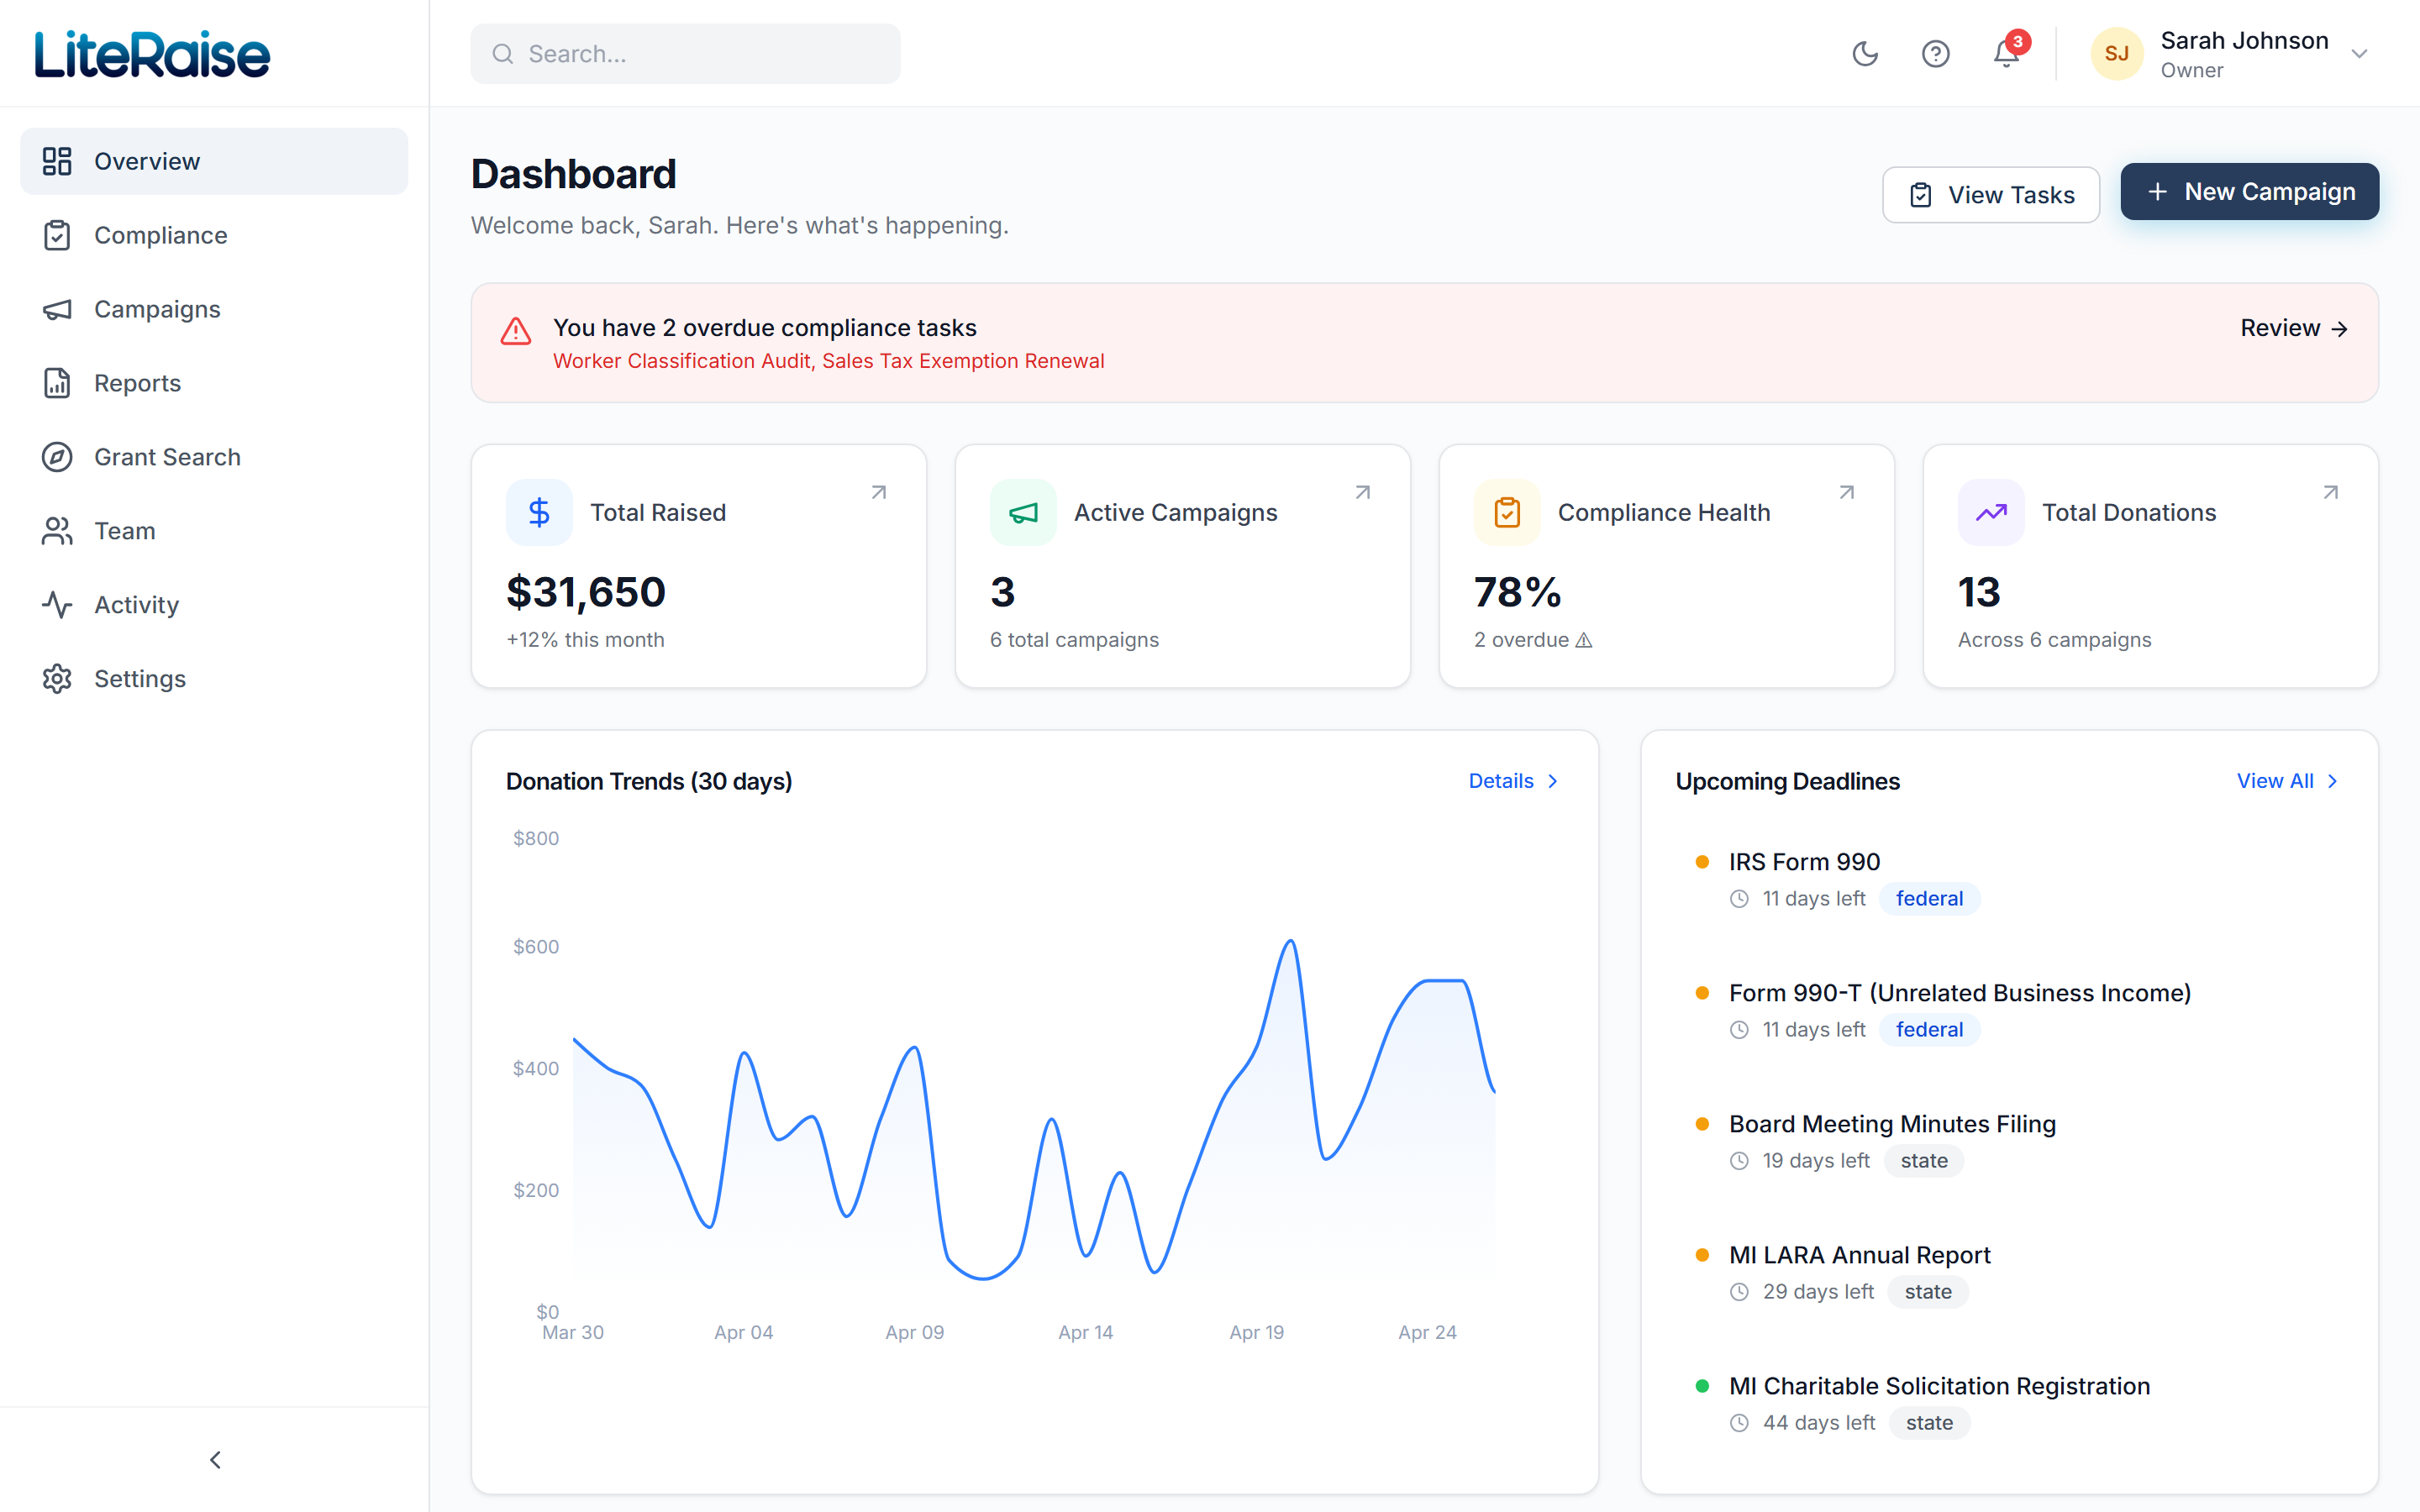
What happens after signup
Your organization is created in Lite Raise with a unique subdomain (e.g. helpkids.literaise.com) that becomes your public donation page address. We pre-load 12 default compliance tasks based on the state you select, and your dashboard shows a Welcome card with your first three to-do items.